
That sinking feeling when you spot a dark stain near the bathtub or a floorboard that’s just a little too springy—it’s the universal fear of every homeowner. For decades, the bathroom has been a no-go zone for the warmth and beauty of hardwood, a place where water damage and warped wood flooring were inevitable. But a new generation of “waterproof hardwood” has emerged, promising the impossible: real wood in the wettest room of the house. The market is flooded with options, and the claims can feel confusing and too good to be true.
This is not another generic list of flooring types. This is your definitive, evidence-based guide to navigating the world of modern waterproof flooring. We will cut through the marketing hype to reveal the science behind hybrid hardwood, putting a top contender, Bravewood flooring, under the microscope. We will analyze its construction, weigh its pros and cons against industry benchmarks like LVP and tile, and provide expert, step-by-step advice for a truly waterproof bathroom installation that lasts. By the end, you’ll have the clarity and confidence to make the perfect choice for your bathroom renovation.
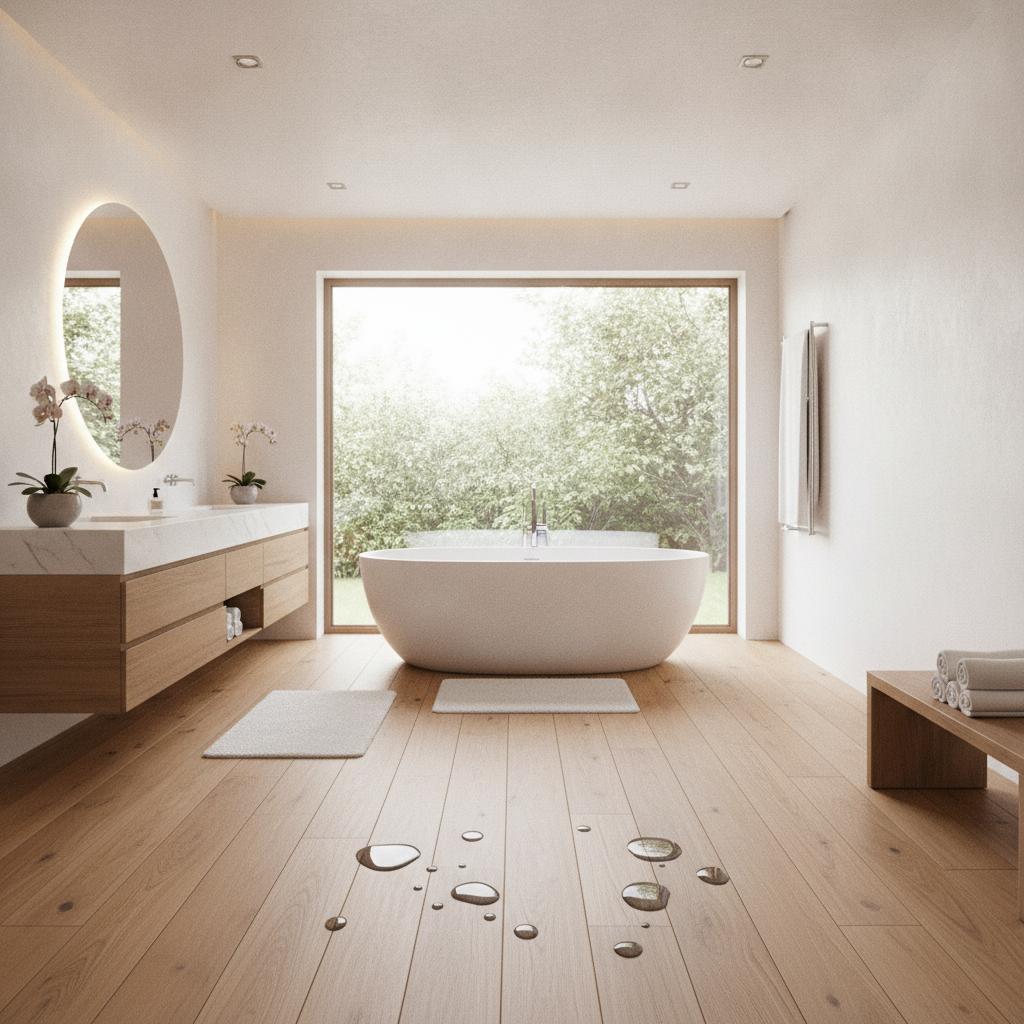
- The Science of ‘Waterproof’ Hardwood: What Are You Really Buying?
- Bravewood Flooring in Focus: Is It a Top Contender for Bathrooms?
- The Competition: How Bravewood Stacks Up Against Other Bathroom Flooring
- Before You Install: Preventing the #1 Cause of Floor Failure
- Your Step-by-Step Guide to a Waterproof Bravewood Bathroom Installation
- The Final Verdict: Is Bravewood the Right Choice?
- References
The Science of ‘Waterproof’ Hardwood: What Are You Really Buying?
The term “waterproof hardwood” can sound like a contradiction. Traditional solid and engineered hardwoods are famously susceptible to moisture. So, what makes this new category different? The secret lies in its hybrid construction, which combines the best of multiple worlds to create a floor that performs where others would fail. Unlike solid wood, which is a single plank of timber, or traditional engineered wood, which uses a plywood or HDF core, waterproof hardwood is a technological leap forward.
It’s a composite product meticulously designed to lock out water from its core. The National Wood Flooring Association (NWFA), the leading authority on wood flooring standards, helps classify these new materials that push the boundaries of where wood can be installed. Understanding this layered construction is the first step to appreciating its capabilities.
Is Waterproof Hardwood Actually Real Wood?
This is the most common and critical question, and the answer is yes—and no. Waterproof hardwood is a hybrid product. The surface you see and feel is a thin layer of genuine hardwood, called a veneer. This veneer captures the unique grain, texture, and beauty of authentic wood because it is authentic wood.
However, beneath this veneer lies the technology that makes it waterproof. Instead of a wood-based core, it utilizes a 100% waterproof composite core. This construction means you get the aesthetic appeal of real wood on a platform that won’t swell, buckle, or degrade when exposed to the moisture typical in a full bathroom. It’s crucial to note that the wood veneer itself is not waterproof, but it is protected by a highly durable topcoat, and the underlying core prevents any water that might get through from causing structural damage. The veneer thickness typically ranges from 0.6mm to 2mm, which provides the authentic look but, unlike solid hardwood, does not allow for sanding and refinishing down the line.
How the Technology Works: Deconstructing the Waterproof Core
The engine of any hybrid hardwood is its core. This is where the “waterproof” claim is truly tested. Most modern waterproof cores are made from a Stone Polymer Composite (SPC) or a similar proprietary polymer blend.
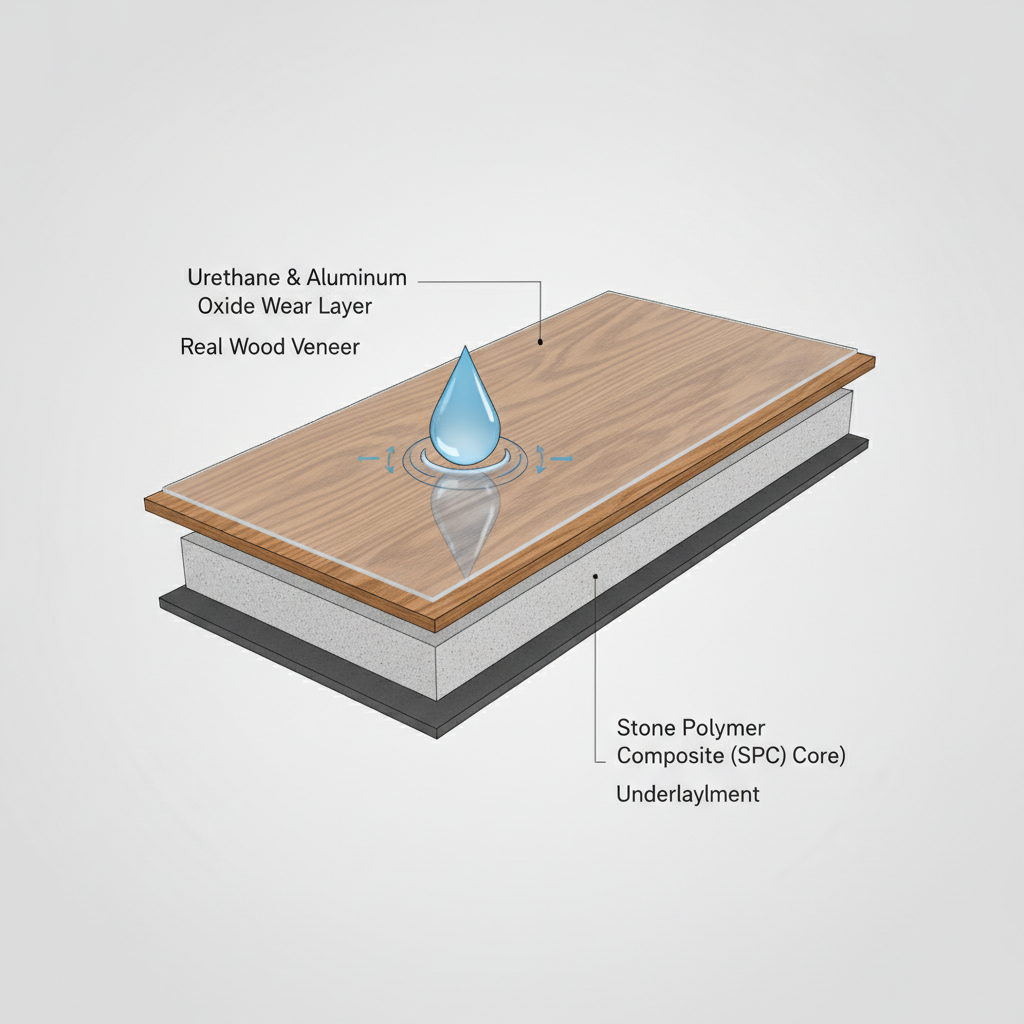
SPC is a game-changer for flooring stability and durability. According to research highlighted by organizations like the Resilient Floor Covering Institute (RFCI), SPC cores can contain up to 70% limestone, which gives them incredible rigidity and density. This composition makes the planks highly resistant to dents from dropped objects and, most importantly, provides exceptional thermal stability. This means the floor is less likely to expand or contract with the temperature and humidity swings common in a bathroom.
Protecting the real wood veneer on top is a commercial-grade wear layer, typically a urethane-based coating infused with aluminum oxide. This transparent topcoat is the plank’s first line of defense, providing robust resistance against scratches, stains, and fading. These wear layers range in thickness from 12 mil for light residential use to over 30 mil for heavy commercial applications.
Bravewood Flooring in Focus: Is It a Top Contender for Bathrooms?
Now that we understand the technology, let’s put a specific brand to the test. Bravewood has emerged as a popular name in the waterproof hardwood category. But does it live up to the demands of a high-traffic, high-moisture bathroom? We analyzed its features, benefits, and potential drawbacks to give you the verdict.
Bravewood flooring is constructed with a real wood veneer over a 100% PVC-free polymer core, positioning it as a true hybrid hardwood. It’s marketed as 100% waterproof, making it suitable for installation in any room of the house, including full bathrooms. Furthermore, many Bravewood products are FloorScore® certified, a critical third-party certification from SCS Global Services that verifies low volatile organic compound (VOC) content, contributing to healthier indoor air quality for your family.
Pros: Why Bravewood Shines in Wet Areas
- 100% Waterproof Core: The primary benefit is its polymer core, which will not swell, warp, or buckle when exposed to topical water, spills, or humidity. This is the core feature that makes it a viable option for bathrooms.
- Authentic Wood Beauty: Unlike LVP, which uses a photographic print layer, Bravewood provides the genuine, unique beauty of a real wood surface. Each plank has a distinct grain and character that cannot be replicated by a machine.
- Exceptional Durability: Bravewood typically boasts an AC4 or AC5 Abrasion Class (AC) rating. The AC rating system measures a floor’s resistance to abrasion, impact, stains, and burns. An AC4 rating is suitable for heavy residential and general commercial use, while AC5 is rated for heavy commercial traffic. This means it can easily withstand the rigors of a busy family bathroom.
- Ease of Installation: As a click-lock floating floor, it can be installed more quickly and with less mess than traditional tile, often directly over an existing hard surface floor, saving time and labor costs.
Cons: Potential Drawbacks and Considerations
- No Refinishing: The biggest trade-off for its waterproof performance is the thin wood veneer. Unlike solid hardwood that can be sanded and refinished multiple times, deep scratches or gouges that penetrate the wear layer and damage the veneer cannot be sanded out. Damaged planks must be individually replaced.
- Cost: Generally, waterproof hardwood like Bravewood is more expensive than most high-quality LVP options and can be comparable in price to mid-range porcelain tile once installation costs are factored in.
- Installation is Critical: While the planks themselves are waterproof, the system is only as good as its installation.
With any click-lock floor, a perfectly flat subfloor is non-negotiable. Even small dips or bumps can cause the joints to flex and potentially separate over time, creating a path for water.
A flawless installation is essential to its long-term performance in a bathroom.
The Warranty Deep Dive: Does It Cover Bathroom Installation?
A manufacturer’s warranty is the ultimate test of its confidence in a product. We examined Bravewood’s warranty documentation to answer this critical question. The good news is that Bravewood’s warranty typically does cover installation in full bathrooms, but with crucial stipulations.
The warranty protects against manufacturing defects and ensures the floor will not swell or warp due to topical moisture from normal cleaning or everyday spills. However, it does not cover damage from flooding, which includes leaks from toilets or tubs, appliance failures, or hydrostatic pressure from the subfloor.
Most importantly, to maintain warranty coverage in a wet area, the manufacturer mandates specific installation practices. A key clause in Bravewood’s official installation manual states that a 100% silicone sealant must be applied to the entire perimeter of the room and around all fixtures like tubs, showers, toilets, and vanities. Failing to perform this step voids the waterproof warranty.
Homeowner’s Warranty Checklist:
- Has the subfloor been tested for moisture?
- Is the subfloor flat to the manufacturer’s specification (e.g., within 3/16″ over 10 feet)?
- Was the required expansion gap left around the entire perimeter?
- Was 100% silicone sealant used to fill the expansion gap around the entire perimeter and all fixtures?
- Do you have photos documenting the installation process, especially the sealing step?
The Competition: How Bravewood Stacks Up Against Other Bathroom Flooring
To truly understand Bravewood’s value, we need to compare it to the other leading waterproof flooring options. According to the National Kitchen & Bath Association (NKBA), homeowners are increasingly seeking durable and stylish materials for their bathroom remodels. Here’s how Bravewood compares to the two most popular choices: Luxury Vinyl Plank and Porcelain Tile.
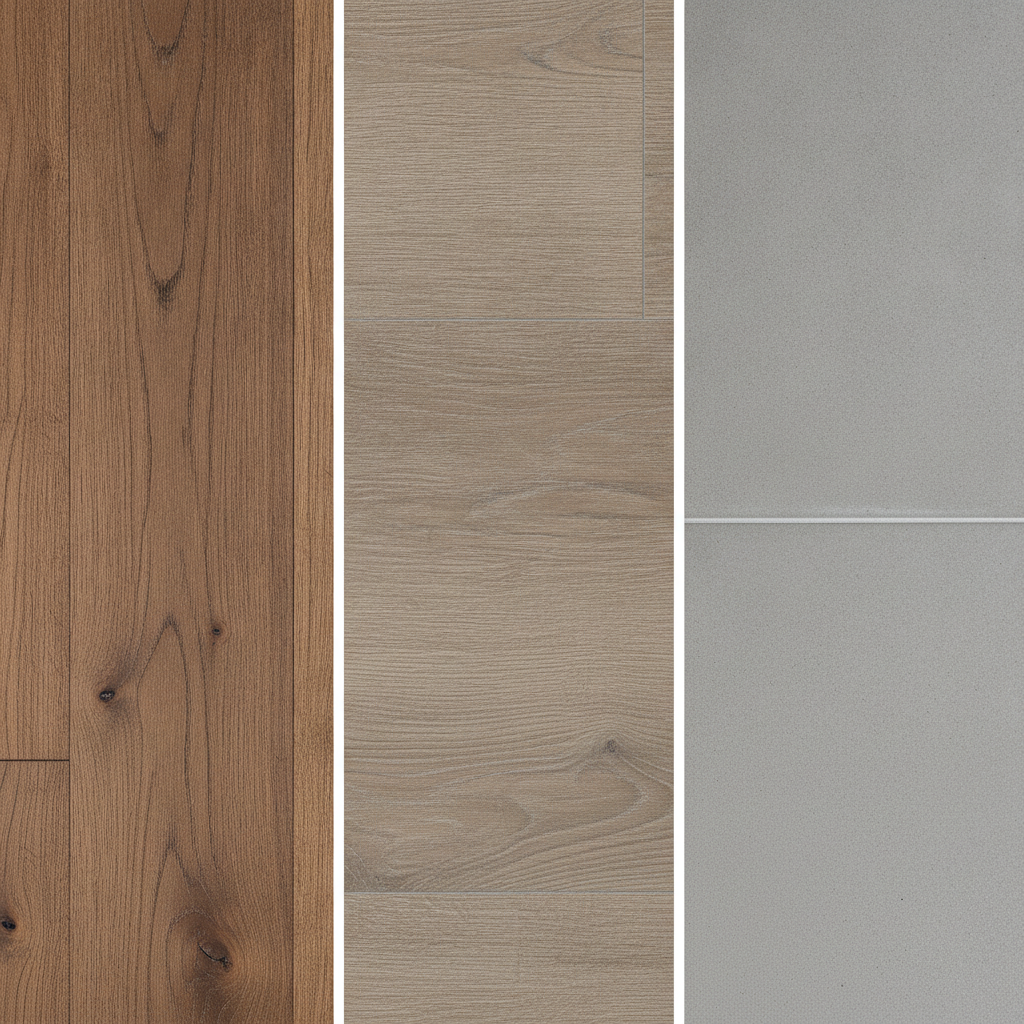
Bathroom Flooring Decision Matrix
| Feature | Bravewood Hybrid Hardwood | Luxury Vinyl Plank (LVP) | Porcelain Tile |
|---|---|---|---|
| Cost (Material + Install) | 4/5 (Higher) | 3/5 (Moderate) | 4/5 (Higher) |
| Durability / Scratch Resistance | 4/5 | 4/5 | 5/5 |
| DIY-Friendliness | 3/5 | 4/5 | 1/5 |
| Style / Authenticity | 5/5 (Real Wood) | 3/5 (Printed Image) | 4/5 |
| Warmth & Feel Underfoot | 4/5 | 3/5 | 1/5 |
(Scale: 1 = Poor/Low, 5 = Excellent/High)
Bravewood vs. Luxury Vinyl Plank (LVP)
LVP is Bravewood’s most direct competitor. It has captured over 20% of the US flooring market due to its affordability, durability, and 100% waterproof construction.
- The Key Difference: Authenticity. LVP uses a high-definition printed layer to mimic the look of wood, while Bravewood uses an actual wood veneer. Up close, the depth and character of real wood on Bravewood are unmatched.
- Durability: Both are highly durable. LVP’s durability is measured by the thickness of its wear layer (measured in mils), while Bravewood uses the AC rating system. A 20-mil LVP is comparable in performance to an AC4-rated hybrid floor for residential use.
- Feel: Bravewood’s rigid polymer core often gives it a more substantial, solid feel underfoot compared to more flexible LVP products.
Bravewood vs. Porcelain & Ceramic Tile
Tile is the traditional gold standard for bathrooms, and for good reason.
- Water Impermeability: Porcelain tile is the undisputed champion here. It has a water absorption rate of less than 0.5%, making it virtually impervious to water. While a properly installed Bravewood system is waterproof, the tile material itself is on another level. The authority on tile standards, the Tile Council of North America (TCNA), sets these high benchmarks.
- Durability: High-quality porcelain tile, with a PEI rating of 4 or 5, is arguably the most durable residential flooring available, highly resistant to scratches and dents.
- Installation & Feel: Tile is cold and hard underfoot, and its installation is significantly more complex, messy, and expensive. Bravewood is warmer, softer, and much faster to install. Furthermore, grout lines can be difficult to keep clean and may require periodic sealing, a maintenance task not required with Bravewood.
Before You Install: Preventing the #1 Cause of Floor Failure
Even the most advanced waterproof flooring can fail if it’s installed over a problematic subfloor. Moisture is the enemy, and it doesn’t just come from spills on top; it can wick up from a concrete slab or crawlspace below, leading to mold, mildew, and structural damage. This is why addressing the subfloor is the most critical step in any bathroom flooring project.
According to the Institute of Inspection, Cleaning and Restoration Certification (IICRC), which sets the professional standard for water damage restoration, hidden moisture is a primary cause of flooring failures and indoor air quality issues. Before a single plank is laid, a thorough assessment is essential.
How to Spot Signs of Water Damage and Warping
If you’re remodeling, look for tell-tale signs of existing moisture issues. Data from flooring inspectors consistently shows that over 90% of wood flooring problems are caused by moisture imbalances. An NWFA Certified Wood Flooring Inspector can diagnose these issues professionally, but you can look for these visual cues:
- Cupping: The edges of a floorboard are higher than its center. This usually indicates a moisture imbalance, with more moisture coming from below the floor than above.
- Crowning: The center of a board is higher than its edges. This often happens when there has been surface water exposure that has since dried.
- Buckling: The flooring lifts dramatically from the subfloor. This is a sign of a severe water event and requires immediate attention.
Subfloor Moisture Testing: A Non-Negotiable Step
You cannot see or feel if a concrete subfloor has an acceptable moisture level. It must be tested. This is a non-negotiable step that protects your investment. The two primary professional testing methods defined by ASTM International, the global leader in technical standards, are:
- In-Situ Relative Humidity Test (ASTM F2170): A probe is inserted into the concrete slab to measure the relative humidity within the concrete itself. This is the most accurate and preferred method in the industry.
- Calcium Chloride Test (ASTM F1869): A small dish of calcium chloride is sealed to the surface of the concrete for 72 hours to measure the rate of moisture vapor emission.
Most flooring manufacturers require the subfloor to be below a certain threshold (e.g., 85% RH for the F2170 test) before installation can begin. Insist that your installer performs and documents one of these tests.
5 Questions to Ask Your Installer About Moisture Testing:
- Which ASTM-approved moisture test will you be performing on my subfloor?
- What is the acceptable moisture level required by the Bravewood warranty?
- Can you provide me with the documented results of the test before you begin installation?
- If the moisture levels are too high, what is your plan for moisture mitigation?
- How do you ensure the subfloor is perfectly flat before you begin?
Your Step-by-Step Guide to a Waterproof Bravewood Bathroom Installation
A successful, long-lasting Bravewood bathroom floor depends entirely on meticulous installation. While the planks click together easily, the details are what create a truly waterproof system. This guide highlights the critical steps.
Step 1: Subfloor Preparation and Leveling
Your subfloor must be clean, dry, and, most importantly, flat. Bravewood’s installation manual specifies a flatness tolerance that must be met, typically within 3/16 of an inch over a 10-foot span. Use a long, straight edge or level to check for high and low spots. High spots must be ground down, and low spots must be filled with a high-quality, cement-based leveling compound. Do not skip this step.
Step 2: Laying Out and Cutting Planks
Plan your layout before you start. Stagger the seams between planks in adjacent rows by at least 6-8 inches for a stronger, more stable floor. When you reach tricky areas like a toilet flange, create a template out of cardboard first to ensure a perfect cut on the plank. Bravewood can be cut using a fine-toothed saw, such as a jigsaw or miter saw.
Step 3: The Critical Final Seal – Perimeter and Fixtures
This is the most important step for a waterproof bathroom installation and is required by the Bravewood warranty. After all planks are installed, you must fill the 1/4-inch expansion gap around the entire perimeter of the room with a 100% silicone sealant. Do the same for any area where the flooring meets a tub, shower, toilet, or vanity. This creates a flexible, waterproof barrier that prevents water from getting under the floor at its most vulnerable points.
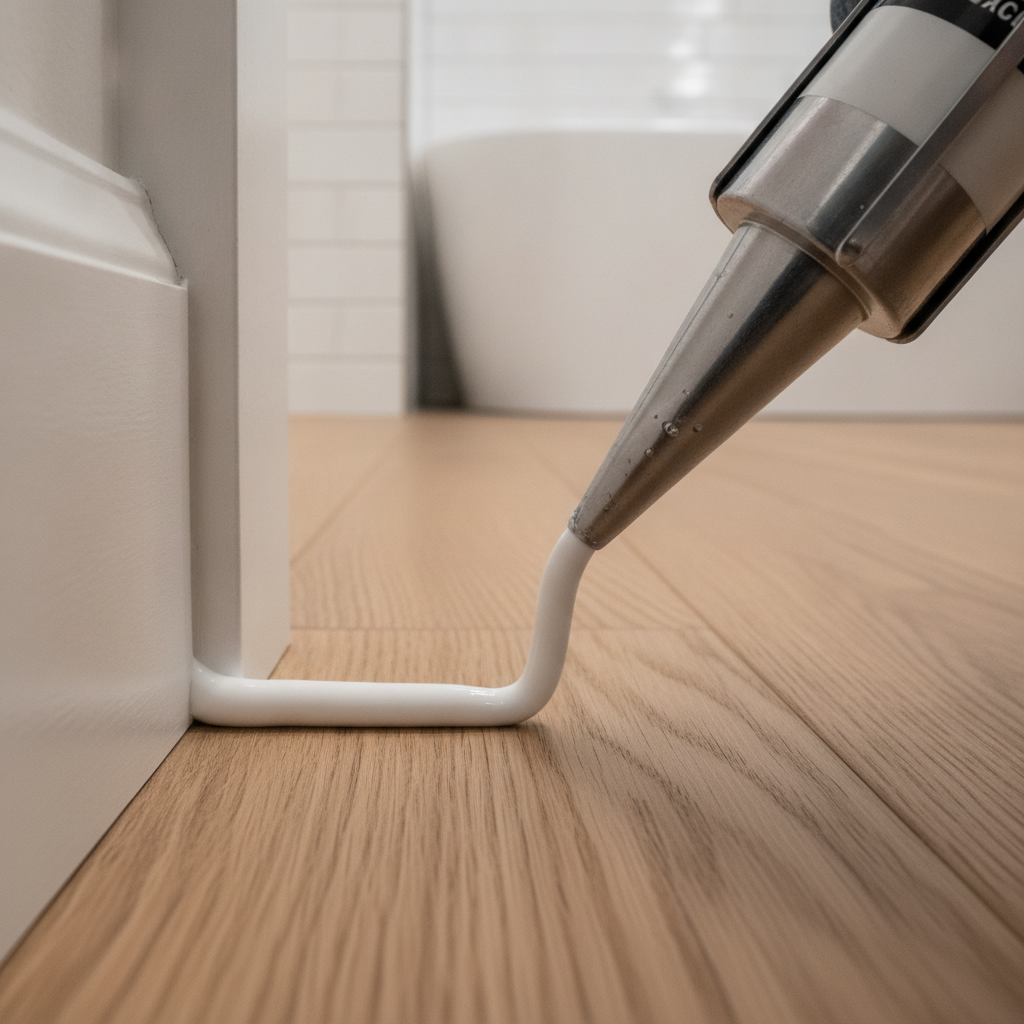
Silicone Application: Do’s and Don’ts
- DO: Use painter’s tape to mask off the floor and the baseboard/fixture for a clean, straight line.
- DO: Cut the nozzle of the silicone tube at a 45-degree angle for better control.
- DON’T: Use acrylic caulk or painter’s caulk. They are not waterproof and will fail.
- DO: Smooth the bead of silicone with a wet finger or a caulk finishing tool immediately after applying.
- DO: Remove the painter’s tape before the silicone starts to skin over.
Common Installation Mistakes to Avoid
- Forgetting the Expansion Gap: The floor needs room to expand and contract. Failing to leave a 1/4-inch gap around the perimeter can cause the floor to buckle.
- Improper Seam Staggering: Lining up seams (creating “H-joints”) results in a weak and visually unappealing floor.
- Ignoring Acclimation: While polymer core floors are very stable, it’s still best practice, as recommended by the NWFA, to let the flooring acclimate in the room where it will be installed for at least 24-48 hours. This allows it to adjust to the home’s temperature and humidity.
- Skipping the Perimeter Seal: As mentioned, this is the most critical error. An unsealed perimeter is not a waterproof installation and will void your warranty.
The Final Verdict: Is Bravewood the Right Choice?
So, is Bravewood waterproof hardwood the perfect flooring for your bathroom renovation? The answer is a confident yes, with an important condition.
Bravewood flooring is an excellent choice that successfully combines the authentic, high-end beauty of real wood with the durability and water-resistant performance needed for a bathroom. Its tough AC4/AC5 rating and stable polymer core make it a technologically superior product that can handle the daily challenges of moisture and traffic.
However, its success is entirely dependent on meticulous, by-the-book installation. The planks themselves are waterproof, but the system only becomes waterproof when the subfloor is properly prepared and tested, and when the critical final perimeter seal is applied correctly as required by the warranty. If these steps are followed, Bravewood offers a stunning and durable alternative to tile and LVP that can elevate the style and warmth of any bathroom. By moving past the marketing hype and understanding the science, you can ensure your new bathroom floor is not just beautiful, but built to last.
Feeling confident about your bathroom remodel? Explore our gallery of bathroom flooring ideas for more inspiration or leave a question in the comments below for our flooring experts to answer.
This article provides general guidance. Always consult and follow the official manufacturer’s installation instructions and warranty documentation for Bravewood flooring to ensure compliance. Professional installation is recommended for best results in high-moisture areas.
References
- National Wood Flooring Association (NWFA). (n.d.). Installation Guidelines. NWFA official publications.
- Various flooring industry reports and product specification sheets. (2022-2024). Typical veneer thickness for hybrid hardwood flooring.
- Resilient Floor Covering Institute (RFCI). (n.d.). Technical Specifications and Performance Standards for Resilient Flooring. RFCI official publications.
- SCS Global Services. (n.d.). FloorScore® Certification. Retrieved from https://www.scsglobalservices.com/services/floorscore.
- Bravewood Flooring. (n.d.). Official Installation Manual and Warranty Documentation. Sourced from manufacturer’s official website and product packaging.
- National Kitchen & Bath Association (NKBA). (n.d.). Design Trends Reports. NKBA official publications.
- American National Standards Institute. (n.d.). ANSI A137.1: American National Standard Specifications for Ceramic Tile. (Covers water absorption rate for porcelain tile).
- Tile Council of North America (TCNA). (n.d.). TCNA Handbook for Ceramic, Glass, and Stone Tile Installation. TCNA official publications.
- Institute of Inspection, Cleaning and Restoration Certification (IICRC). (n.d.). S500 Standard for Professional Water Damage Restoration. IICRC official publications.
- ASTM International. (n.d.). ASTM F2170 – Standard Test Method for Determining Relative Humidity in Concrete Floor Slabs Using in situ Probes and ASTM F1869 – Standard Test Method for Measuring Moisture Vapor Emission Rate of Concrete Subfloor Using Anhydrous Calcium Chloride. Retrieved from https://www.astm.org.
