To ensure your waterproof hardwood installation with Bravewood Flooring is successful, avoid common pitfalls. First, don't neglect subfloor preparation; ensure it's flat and dry before starting. Skipping moisture testing can lead to warping, so measure levels accurately. Proper acclimation is crucial; allow the flooring to adjust for at least 48 hours. Use the right tools and techniques during installation—misalignments can create gaps. Remember to leave expansion gaps of at least 1/4 inch to prevent buckling. Finally, only use compatible products and recommended adhesives to maintain integrity. Master these aspects, and you'll be on the path to achieving a flawless finish with Bravewood Flooring.
Key Takeaways
- Neglecting moisture testing can lead to warping and mold; always assess moisture levels before installation.
- Skipping proper acclimation results in compromised flooring integrity; allow at least 48 hours for wood to adjust.
- Failing to create a flat subfloor increases the risk of uneven surfaces; use leveling techniques for optimal preparation.
- Ignoring expansion gaps can cause buckling; maintain a minimum 1/4 inch gap between flooring and walls.
- Using incompatible products may result in delamination; always follow Bravewood Flooring's adhesive recommendations to ensure compatibility.
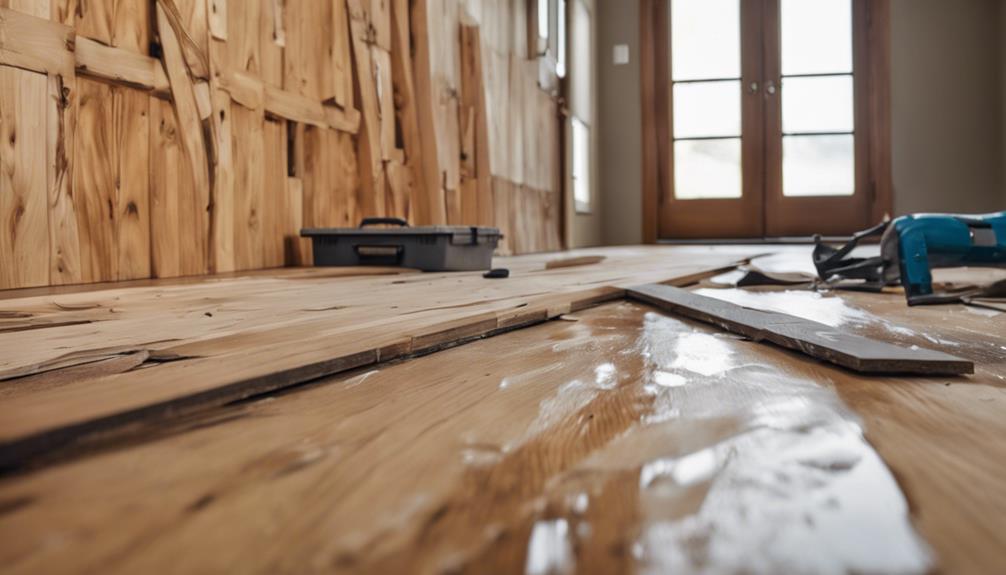
Ignoring Subfloor Preparation

One of the most critical steps in installing waterproof hardwood flooring from Bravewood Flooring is proper subfloor preparation, and overlooking this can lead to significant issues down the line. You need to start by assessing the subfloor materials—whether it's plywood, concrete, or OSB—to ensure they're suitable for your flooring type. Next, employ effective leveling techniques; any unevenness can compromise the integrity of your flooring. Use a leveling compound for low spots and sand down high areas to create a flat surface. Make sure to check for moisture levels in the subfloor, as excessive moisture can undermine your waterproof flooring. By addressing these aspects thoroughly, you'll set a solid foundation for your Bravewood Flooring installation, minimizing potential problems in the future.
Overlooking Moisture Testing
Neglecting to conduct moisture testing can lead to serious complications when installing waterproof hardwood flooring from Bravewood Flooring. It's crucial to identify moisture sources, such as subfloor materials or environmental conditions, before proceeding. Using appropriate testing methods, like the calcium chloride test or moisture meter, ensures you measure moisture levels accurately. This information helps you determine if the subfloor is suitable for installation and if any moisture mitigation measures are needed. Ignoring this step can result in issues like warping, buckling, or mold growth, compromising both the aesthetic and structural integrity of your flooring. Always prioritize moisture testing to safeguard your investment in Bravewood Flooring and ensure a successful, long-lasting installation.
Poorly Managing Acclimation

When it comes to installing waterproof hardwood flooring from Bravewood Flooring, properly managing acclimation is essential for a successful outcome. Failing to allow an adequate acclimation duration can lead to warping, gapping, or buckling after installation. Before installation, your Bravewood Flooring should acclimate in the environment where it will be laid for at least 48 hours, ideally longer, depending on the manufacturer's recommendations. Additionally, maintain temperature control during this period; ideally, the room should be between 60°F and 80°F. This ensures the wood adjusts to the humidity and temperature of its new surroundings. Skipping or rushing this process not only compromises the integrity of the flooring but could also void warranties. Always prioritize acclimation to achieve optimal performance and longevity with Bravewood Flooring.
Incorrect Installation Technique
After ensuring proper acclimation, the next vital step in installing waterproof hardwood flooring from Bravewood Flooring is employing the correct installation technique. Using the right tools is crucial; for instance, a flooring nailer or stapler should be utilized for securing planks, ensuring a tight fit. Pay attention to proper alignment as you lay each board; misaligned planks can lead to gaps and uneven surfaces. Always check that your rows are straight and level, adjusting as necessary. Additionally, avoid excessive force when fitting planks together, which can cause damage. Remember, precision in tool usage and alignment not only enhances the flooring's appearance but also its longevity. Taking these steps will help you achieve a professional-quality installation with Bravewood Flooring.
Neglecting Expansion Gaps

One critical aspect of waterproof hardwood installation is ensuring proper expansion gaps around the perimeter of the room. These gaps are essential for accommodating the natural expansion and contraction of flooring materials due to temperature and humidity changes. Neglecting the significance of expansion gaps can lead to buckling or warping, compromising the integrity and lifespan of your Bravewood Flooring. You should maintain a gap of at least 1/4 inch between the flooring and walls or obstacles to allow for flooring material flexibility. Failing to do so may result in severe damage, especially in environments with fluctuating moisture levels. Always measure carefully and install spacers during the installation process to ensure these gaps are consistently maintained for optimal performance and durability.
Using Incompatible Products
Avoiding the use of incompatible products is crucial during waterproof hardwood installation, especially when working with Bravewood Flooring. Failing to ensure product compatibility can lead to serious issues, such as warping or delamination. When selecting adhesives, always opt for those specifically designed for waterproof hardwood, particularly those recommended by Bravewood Flooring. Not all adhesives are created equal; some may not bond properly with the flooring materials, compromising the integrity of your installation.
Be sure to read Bravewood Flooring's guidelines regarding adhesive selection. This helps prevent mistakes that could void warranties or lead to costly repairs in the future. Additionally, avoid mixing products from different brands unless they explicitly state compatibility with Bravewood Flooring. Sticking to recommended products will ensure a successful, long-lasting installation that performs as expected in various environments.
Frequently Asked Questions
What Tools Are Essential for Waterproof Hardwood Installation?
For waterproof hardwood installation, you'll need essential materials like underlayment, adhesive, and a moisture barrier, particularly those recommended by Bravewood Flooring. Employ proper installation techniques, including cutting tools and a tapping block, to ensure a seamless and durable flooring outcome.
How Long Does Waterproof Hardwood Typically Last?
Waterproof hardwood typically lasts 25 to 30 years, depending on factors such as installation quality and maintenance. Warranty considerations often reflect this, with Bravewood Flooring offering lifetime residential guarantees for added peace of mind.
Can I Install Waterproof Hardwood Over Existing Flooring?
Yes, you can install waterproof hardwood from Bravewood Flooring over existing flooring, but ensure flooring compatibility. Be aware of installation challenges, like height differences and subfloor stability, which could affect the overall performance and durability of the new flooring.
What Is the Best Way to Clean Waterproof Hardwood?
To clean your Bravewood Flooring waterproof hardwood, use gentle cleaning techniques like a damp mop and a pH-balanced cleaner. Regular maintenance tips include sweeping or vacuuming debris, avoiding harsh chemicals, and promptly addressing spills for optimal performance.
Are There Specific Underlayment Options for Waterproof Hardwood?
When selecting underlayment for waterproof hardwood from Bravewood Flooring, it's important to consider moisture barriers for protection against dampness, as well as sound insulation to minimize noise. Additionally, ensure that the underlayment is compatible with your Bravewood Flooring to achieve optimal performance and longevity in your space.
Conclusion
By avoiding these common mistakes, you can ensure a successful waterproof hardwood flooring installation with Bravewood Flooring. Proper subfloor preparation, moisture testing, and acclimation are crucial for long-lasting results. Additionally, using the correct installation techniques and maintaining appropriate expansion gaps will help prevent future issues. Always choose Bravewood Flooring products to enhance durability. With careful attention to these details, you'll achieve a beautiful and resilient floor that withstands the test of time. Enjoy your new flooring with confidence!
