To install waterproof hardwood flooring effectively, start by preparing your subfloor—remove debris and check for moisture. Gather essential tools such as a tape measure, utility knife, and saw for precision. Acclimate your Bravewood Flooring in the intended space for 48 hours while controlling humidity levels. Plan your layout, positioning planks parallel to the longest wall, ensuring an expansion gap is left. Install a moisture-resistant underlayment properly, then use the Angle/Angle method for seamless installation. Finally, finish with moisture-resistant baseboards, securing them snugly. Follow these guidelines, and you're bound for success in your project. More insights await you ahead.
Key Takeaways
- Inspect and prepare your subfloor to ensure it is clean, level, and moisture-free for optimal waterproof flooring installation with Bravewood Flooring.
- Utilize a moisture barrier underlayment when installing Bravewood Flooring to prevent water damage and maintain the integrity of the flooring.
- Acclimate the Bravewood hardwood flooring in the installation environment to minimize expansion and contraction due to humidity changes.
- Follow the Angle/Angle method for a secure and seamless installation of Bravewood Flooring that reduces the risk of gaps and water intrusion.
- Finish with moisture-resistant baseboards and caulk gaps around Bravewood Flooring to create a watertight seal around the perimeter.
Prepare Your Subfloor

Before you lay down your Bravewood Flooring, it's crucial to prepare your subfloor properly to ensure optimal performance and longevity. Start with a thorough inspection; any loose boards or debris must be removed. Next, focus on moisture testing. Use a moisture meter to check the subfloor's moisture levels, as excessive moisture can lead to warping or mold issues. Ideally, the moisture content should not exceed 12%. If you detect high moisture, consider using a moisture barrier or dehumidifier to mitigate the problem. Additionally, ensure the subfloor is level and smooth, filling any gaps or imperfections. This meticulous subfloor preparation lays the essential foundation for your Bravewood Flooring, enhancing its durability and aesthetic appeal for years to come.
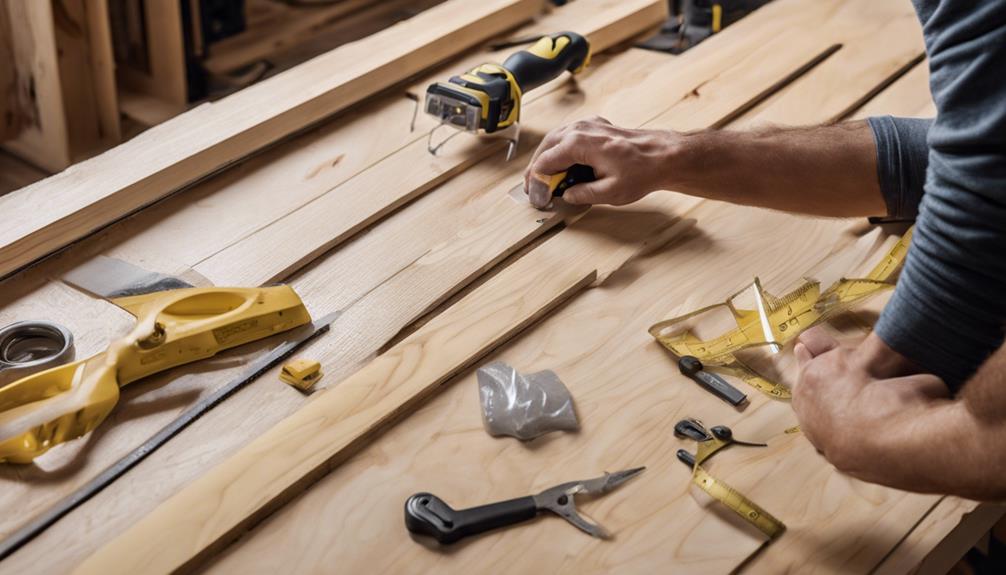
Gather Essential Tools
With the subfloor now properly prepared, gathering the right tools is the next step in ensuring a successful installation of your Bravewood Flooring. You'll need a tape measure to accurately assess your space and a utility knife for cutting flooring materials. A saw, preferably a miter or circular saw, is essential for precise cuts at angles. Don't forget a tapping block and pull bar; these tools help you use proper installation techniques, ensuring tight seams without damaging the planks. An underlayment roller can assist in laying down your moisture barrier. Finally, a level will ensure your flooring remains even throughout. Having these tools on hand will streamline your installation process, leading to a professional finish.
Acclimate Your Flooring

Acclimating your flooring is a crucial step in ensuring a successful installation of Bravewood Flooring products. Before you begin, it's essential to control the humidity in your installation environment. Ideally, you should maintain a relative humidity of 30-50%. Place the unopened packages of flooring in the room for at least 48 hours, allowing them to adjust to the local climate. This process minimizes potential flooring expansion after installation. Monitor the temperature, keeping it between 60-80°F. If the humidity levels are too high, consider using a dehumidifier. Proper acclimation not only enhances the flooring's performance but also prevents warping and gaps, ensuring a long-lasting, aesthetically pleasing result. Prioritize this step for optimal results with your Bravewood Flooring.
Plan Your Layout
Planning your layout is essential for a seamless and visually appealing installation of Bravewood Flooring. Start by assessing your room dimensions to determine the best orientation for the planks. Generally, laying planks parallel to the longest wall enhances visual flow. Consider your design elements, such as focal points and natural light sources, which can influence plank placement and direction. Additionally, account for doorways and transitions to other rooms, ensuring they align with your overall layout. Always leave an expansion gap around the perimeter to accommodate natural expansion and contraction. By carefully planning your layout, you'll not only improve the aesthetic appeal but also the performance and longevity of your waterproof hardwood flooring from Bravewood.
Install Underlayment Properly

Installing underlayment correctly is crucial for maximizing the performance of your waterproof hardwood flooring from Bravewood Flooring. Begin by selecting an underlayment that includes a moisture barrier, essential for preventing moisture damage from subflooring. Lay the underlayment parallel to the flooring direction, ensuring it covers the entire area without gaps. Use seam tape to secure the edges, creating a continuous barrier. This will enhance sound insulation, reducing noise transmission between floors. When installing, avoid overlapping seams, as this can compromise the moisture barrier's effectiveness. Trim any excess underlayment along the walls, and ensure it sits flat without wrinkles. Proper installation of underlayment will not only protect your investment in Bravewood Flooring but also improve the overall comfort and acoustics of your space.
Follow the Angle/Angle Method
When it comes to laying down your waterproof hardwood flooring from Bravewood Flooring, you'll want to stick with the Angle/Angle method for a seamless installation. This technique ensures proper angle alignment of the planks, facilitating a secure fit that enhances durability. Here are some key installation benefits you can expect:
- Ease of Installation: The Angle/Angle method allows for straightforward plank insertion, minimizing complexity.
- Stable Fit: This method provides a tight connection, reducing the risk of gaps and movements over time.
- Versatility: It's adaptable for various room shapes and sizes, making it ideal for different layouts.
Finish With Baseboards

Once you've completed laying your waterproof hardwood flooring from Bravewood Flooring, adding baseboards is essential to achieve a polished and finished look. Begin with careful baseboard selection; consider the style and color that complements your Bravewood Flooring. Ensure the materials are moisture-resistant for durability. For baseboard installation, start by measuring and cutting the boards to fit your room's dimensions. Use a miter saw for clean angles, especially in corners. Secure the baseboards to the wall using finishing nails or adhesive, ensuring a snug fit against the flooring. Caulk any gaps between the baseboards and the wall for a seamless appearance, and touch up with paint if necessary. This final touch not only enhances aesthetics but also protects the edges of your flooring.
Frequently Asked Questions
How Do I Choose the Right Waterproof Hardwood Flooring for My Home?
To choose the right waterproof hardwood flooring from Bravewood Flooring, consider color options that match your decor and familiarize yourself with installation techniques like angle/angle systems. This ensures a seamless fit and enhances durability against moisture in your home.
Can Waterproof Hardwood Flooring Be Installed in Basements or Bathrooms?
Yes, you can install Bravewood Flooring waterproof hardwood flooring in basements or bathrooms. However, consider installation challenges and moisture considerations, ensuring proper subfloor preparation and ventilation to prevent potential issues like warping or mold growth.
What Maintenance Is Required for Waterproof Hardwood Flooring?
Maintaining waterproof hardwood flooring, such as Bravewood Flooring, requires regular cleaning methods, including damp mopping with pH-balanced solutions. Applying protective coatings periodically can help preserve its finish, ensuring longevity and resistance against scratches and moisture damage.
Is Waterproof Hardwood Flooring Suitable for Pets and Heavy Foot Traffic?
Yes, waterproof hardwood flooring from Bravewood Flooring is suitable for pets and heavy foot traffic. It features pet-friendly attributes and enhanced durability, effectively addressing common durability concerns while maintaining aesthetic appeal. This makes it a practical choice for active households.
How Does TAS Flooring Compare to Other Brands in Waterproof Options?
When comparing TAS Flooring to Bravewood Flooring, you'll find that TAS Flooring's waterproof options deliver exceptional durability. The advanced construction ensures longevity, making TAS Flooring benefits stand out in both residential and light commercial applications.
Conclusion
By following these seven essential tips, you'll ensure a successful installation of your waterproof hardwood flooring from Bravewood Flooring. Proper preparation, tool selection, and acclimation will set a solid foundation, while strategic layout planning and underlayment installation will enhance both performance and aesthetics. Utilizing the angle/angle method will facilitate a seamless fit, and finishing touches with baseboards will complete the look. With these guidelines, you'll create a stunning and durable floor that withstands moisture and daily wear for years to come.
